 I'm being taken over!! Not evil orges, or scary bad men, but by hairbows. Yes hairbows. Having three lil princesses in the household it seems, means more times than not I am being overtaken by these pretty lil creations.
They seem innocent enough, but then they conger together and plot to take over your house, and that is when they don't look so sweet! Something needs to be done!
I couldn't control the lil buggers until today, I think. I came up with what I think is an ingenious concept. A way to keep all of them in one place, displayed, pretty, and accessible all at one time!
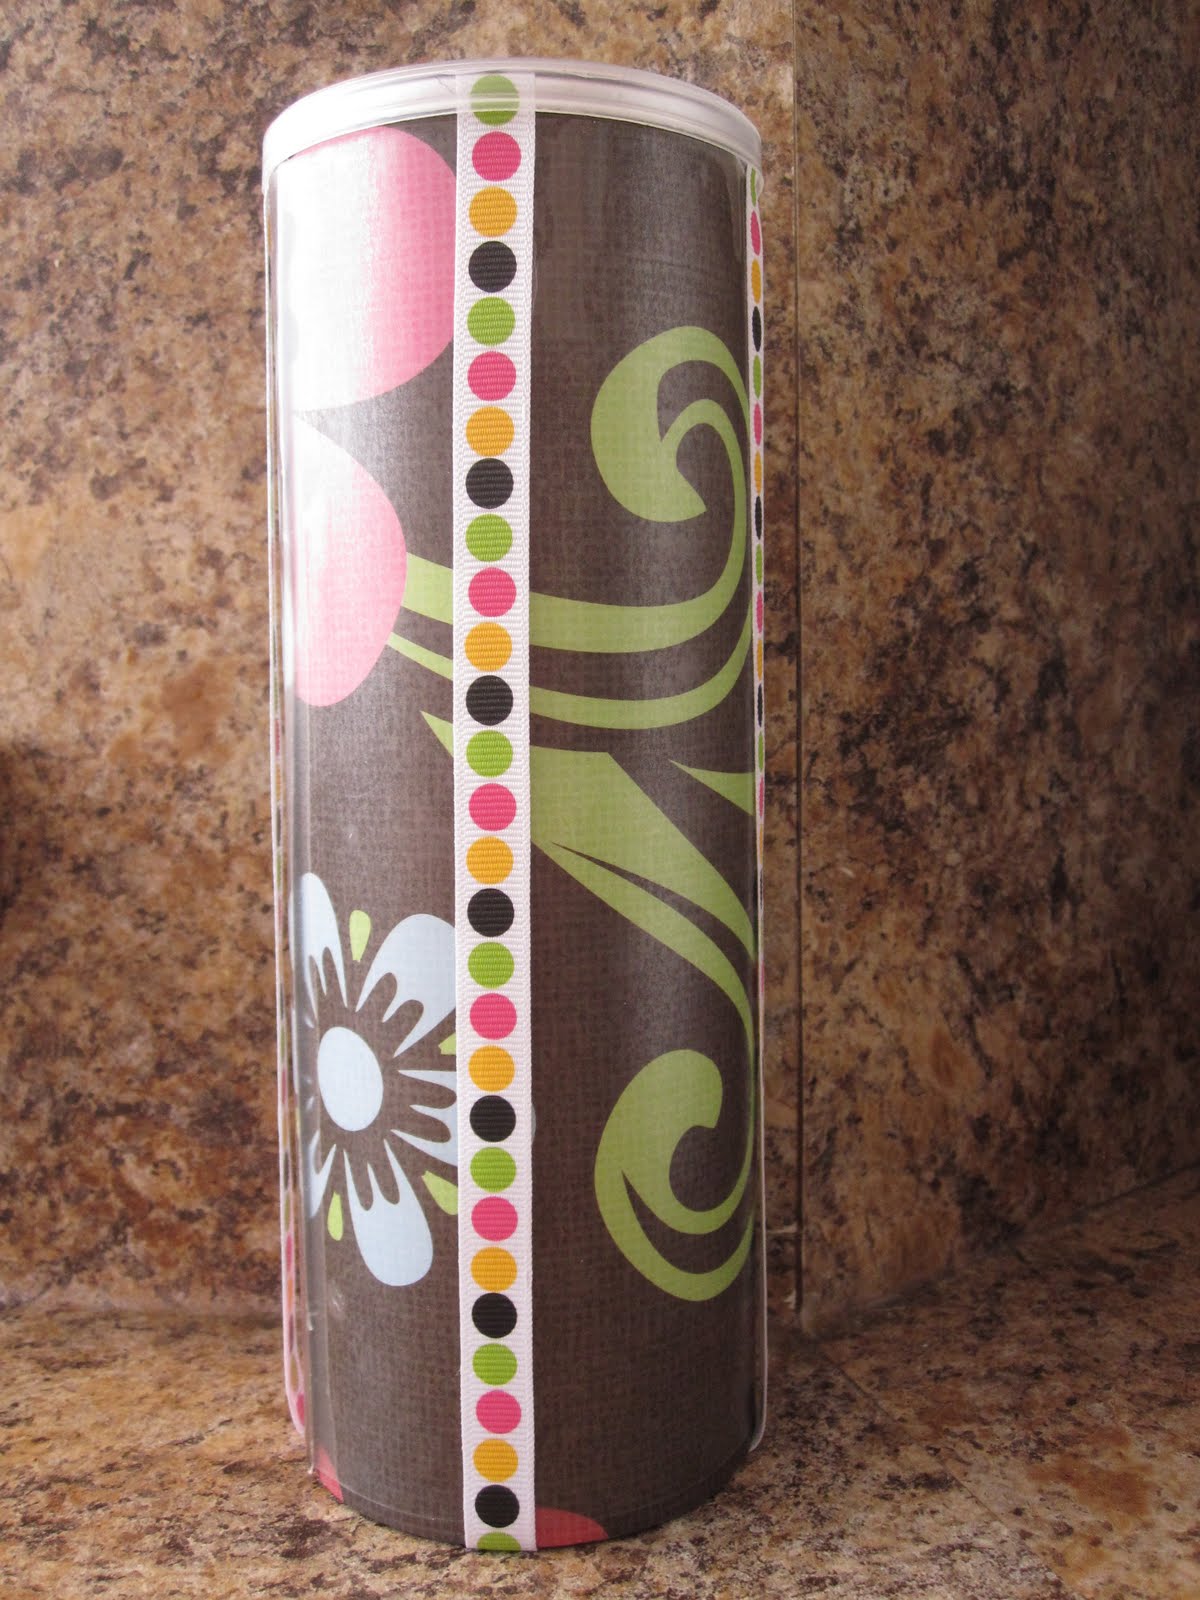
The Pringles can hair accessory holder
You will need :
1 piece scrapbook paper
1 clean pringles can
decorative ribbon
contact paper (optional)
glue gun, glue dots, scissors
You will need :
1 piece scrapbook paper
1 clean pringles can
decorative ribbon
contact paper (optional)
glue gun, glue dots, scissors
First take y
 our average Pringles can and
your favorite piece of scrapbooking paper and introduce them.

Measure your can and draw a line on your paper so you know where to cut. Use a scrapbooking or sewing tool to keep the line straight, if you have it. I didn't because they are somewhere in the moving boxes still. *sigh*
Once it is c
 ut take a glue dot and put three down in a line, just to secure the paper to the can while you prepare to glue the rest.
Get your trusty glue gun out and glue the paper evenly all around the can (do it every bit of the way, not just at the seam, as this will not hold if that is the only place you connect it. It is best to do the top rim and bottom rim and every third of the way the whole middle.)
Next if you have some contact paper laying around, I suggest using it, because it will help the paper to last a little longer from accidental nicks and jabs that the hair bows may make (reference back to the plotting hairbows)


Once all ribbon is on put a dab of glue on the other end. Flip the can upside down and glue it to the bottom. Repeat with three other ribbons.
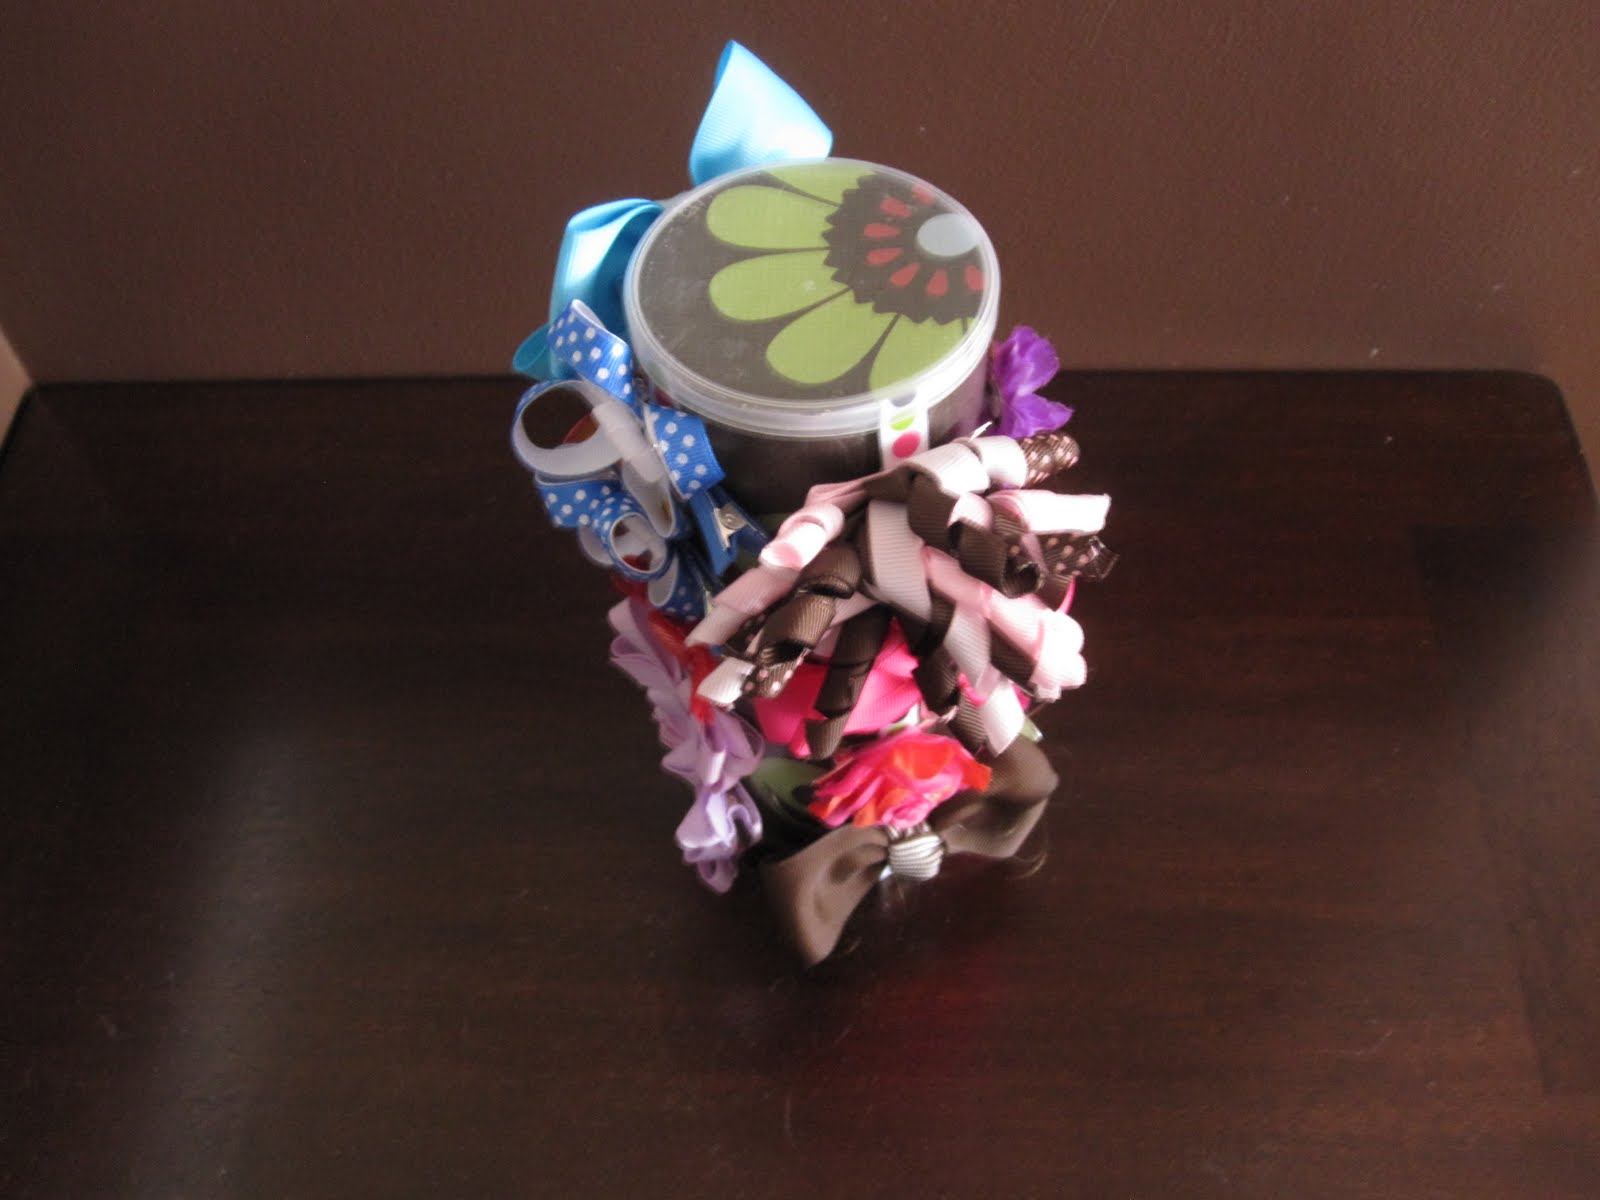
Now for the finishing touch. Trace your lid on the remaining scrapbook paper. Cut just on the inside of the line and fit in the UNderneath of the lid.

There you are done!
Add millions of hairclips and you have a neat, pretty organizer, that if you wanted, you can add other necessities on the inside of.


 And one last thing, for the small hair ties, the greatist thing you can do for yourself is to get a "keyring" clip, they sell huge ones in craft stores, and put ALL of them on this, then you can just "roll" it to the color/tie you want and they are there and not a mess and easy to get to...


.JPG)


.JPG)

We use the keyring clip and for the clip on ones we use a clear plastic canister, the headbands stack nicely around it. One thing that we found that works really well is hot glue a long peice of ribbon to a wreath holder (the kind that slips over the top of the door) that way you can hang it on the back of the bathroom door and use the hook at the top to put the loop holder.
ReplyDeleteYeah i have read that for headbands, we don't own that many yet...we do the ribbon on the door thing, but the girls at this age can't access it well. And they are liking to do their own hair, this way they can put away their OWN things. Means one LESS thing for mommy to put away LOL
ReplyDelete